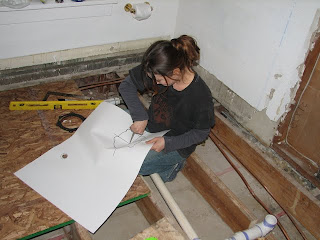
 Like any home project, the concepts behind installing subfloor and backerboard are easy:
1) Draw templates for the plumbing drain and supply lines. (Hint: Try not to screw your subfloor into any PVC or copper piping. This will cause leakage problems and the ceiling below will yell at you.)
2) Layout floor so that the long section of each panel is perpendicular to the joists.
3) The ends of all panels must be centered on a joist.
4) Stagger the placement of boards to avoid four corners meeting (also avoid 3 corners meeting, if possible).
5) Create cutouts in the flooring for the plumbing drain and supply lines.
6) Using cement-coated screws, secure the subfloor to the joists. See Hint 1.
7) Repeat steps 2-5 for the concrete backerboard, laying long edge of backerboard perpendicular to long edge of subfloor.
8) Mix thinset (NOT mastic) to required consistency (creamy like peanut butter), and apply to subfloor with float, working in sections.
9) Place backerboard over thinset, tamp down gently, and screw to subfloor at 6-10 inch intervals. Again, see Hint 1.
And like any home project, the details (lugging subfloor and backerboard pieces up and down a tiny winding staircase 100 times to make cuts on the workhorses out front) are what make the work difficult. Still, Jasun and I had a pretty good time installing the bathroom floor. I mean, at the time, it felt like the first tangible progress that we'd made in weeks!
Here are some pictures showing the installed subfloor. In retrospect it's hilarious to me that we thought this looked PHENOMENAL. We were so excited to have an actual floor in the bathroom again. No wonder our friends looked at us like we were crazy when we showed them the bathroom and expected them to ooh and ah over the floor.


No comments:
Post a Comment